With SHOP Builder, when adding/editing advanced pages, you can use image widgets to enrich your tab with more images and make it more aesthetically pleasing.
⚠️ Before you begin:
- SHOP Builder currently only supports Ultra Chic, Kingsman, Varm, and Philia theme templates.
- After creating a page using SHOP Builder, the page can still be displayed even if you switch to other theme templates, but it cannot be edited and the layout may be messed up. Please take note of this before publishing the page.
1. Add an image widget
Step 1
Proceed to SHOPLINE Admin > [Online Store Design] > [Pages] and click the [Advanced Page/Edit] button to open the Advanced Page setup.
Step 2
Click the Widget button.
Step 3
Select the Gallery widget.
Step 4
1. Bulk upload
The system sorts according to the modification date of the image file, from top to bottom, from the most recently edited to the previous edited.
2. Single upload
You can also upload one image at a time, and the thumbnails are sorted in the same way as bulk uploads.
*Note:
- Currently supports adding up to 16 images.
-
If the upload fails due to the image file format, quantity, etc., the following error prompt may appear
- Upload failure
Error message: Fail to upload image (cannot display any thumbnails) - Partial upload failure
Error message: Fail to upload some images (Automatically skip error files while displaying thumbnails)
- Upload failure
If you added multiple images, click the icon on the left to drag and adjust the image order.
Step 5
Click the image widget to separately upload for desktop and mobile interfaces.
*Note: It is recommended that the desktop version image width be greater than 2000 px, and the mobile version image width should be greater than 1080 px.
Click the language drop-down menu, and a list of supported languages will be listed. You can individually upload the images for each separate language interface.
Step 6
Edit image-related settings.
- Image cropping: Select which part of the image to crop and display (Top left/Top middle/ Top right/ Middle left/ Middle center/ Middle right/ Bottom left/ Bottom middle/ Bottom right).
- Image Alt Text: Enter the image alt text. Use a sentence to describe the image's content to help the search engine better understand the image's content. To learn more about image ALT descriptions, please refer to this article.
- Mask: Select the degree of masking the image.
-
Title: Insert the product title. You can also customize the following style settings. The display order of the style settings is: Widget's style settings > Store Settings.
- Heading tags: There are 6 options from H1 to H6. The system defaults to H3.
- Text color: Click open the palette to choose the text color, or enter a color code.
- Font size: You can choose from 16/20/24/28/32. The actual font size will scale proportionally based on the font size you set in Store Settings.
-
URL link: Add a URL to the image so that when customers click on it, they will be redirected to a new page.
You can select the method to open the link with:
- Current window: Open the URL with the current window.
- New window: Open the URL in a new window.
*Notes:
- The display order of the style settings is: Widget's style settings > Store Settings.
- If you have adjusted your page layout using the custom liquid, you will need to edit the rules for the custom liquid after adjusting the widgets style settings.
- Currently, Shopper App does NOT support customization of the widget's text color and font size.
Step 7
Supports other settings.
A. Full Screen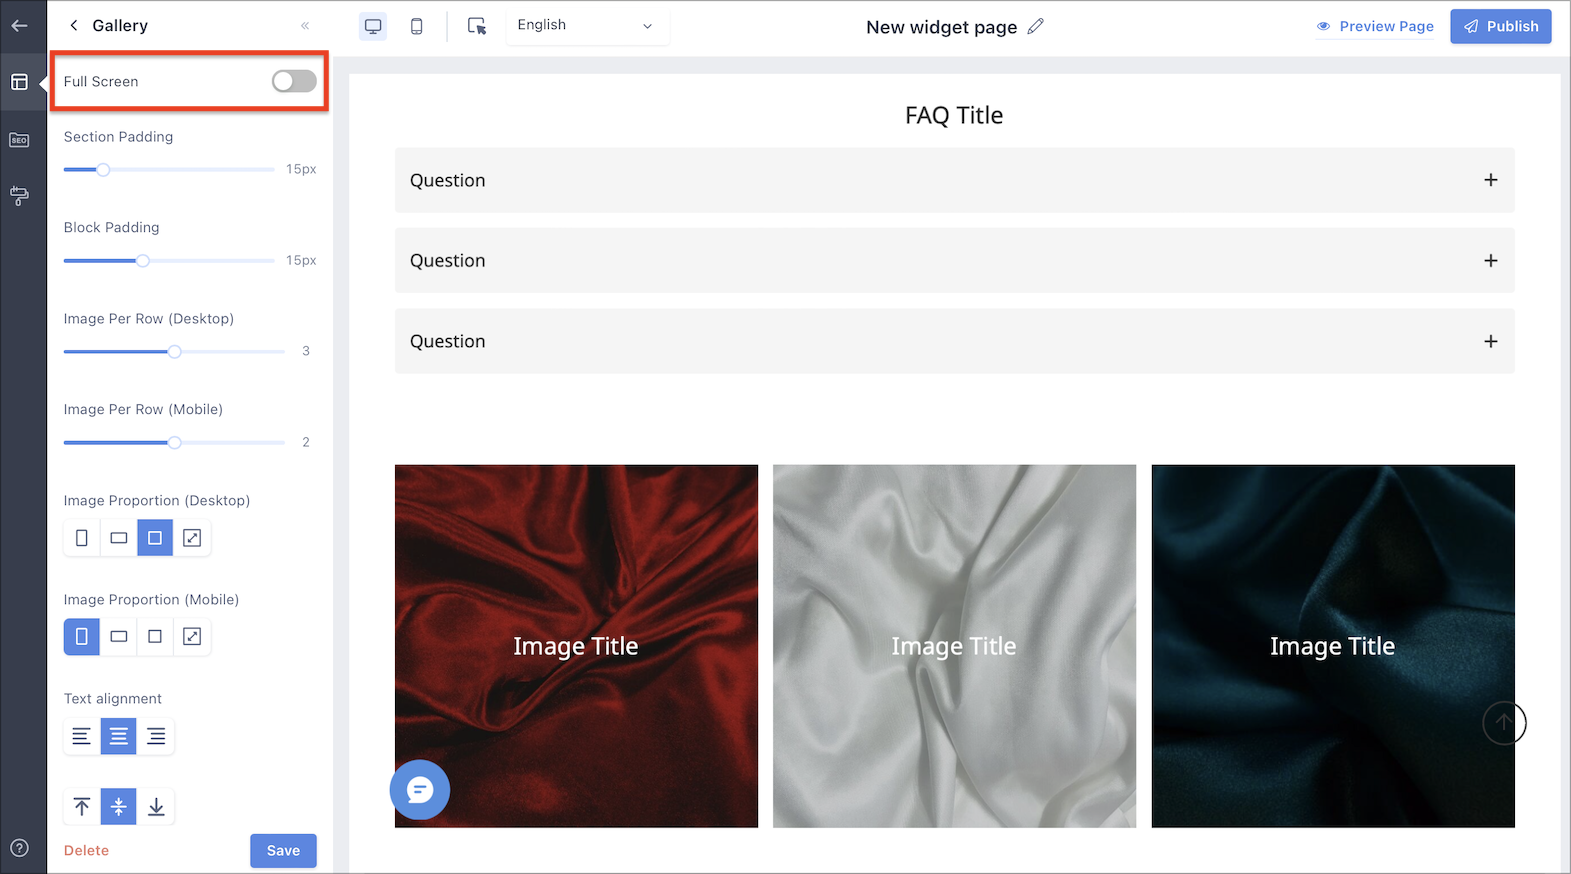
Full Screen mode not switched on:
Full Screen mode switched on:
B. Padding
Adjust the padding of the image and page.
C. Image per row
You can individually set the number of images in each row of the desktop and mobile versions.
D. Image proportions
You can individually set the image proportions on the desktop and mobile versions.
*Note: On the mobile version, image proportion will scale based on screen size. If you combine multiple images to form a large one, white edges may still appear even if the padding is set to 0.
- Recommended image proportions for the desktop version
- Rectangular (2:1 ratio) - Recommended single image dimension: 2000 x 1000px.
- Rectangular (3:4 ratio) - Recommended single image dimension: 1500 x 2000px
- Square (1:1 ratio) - Recommended single image dimension: 2000 x 2000px.
- Original image proportion
- Recommended image proportions for the mobile version
- Rectangular (2:1 ratio) - Recommended single image dimension: 1080 x 540px.
- Rectangular (3:4 ratio) - Recommended single image dimension: 810 x 1080px
- Square (1:1 ratio) - Recommended single image dimension: 1080 x 1080px.
- Original image proportion
E. Text Alignment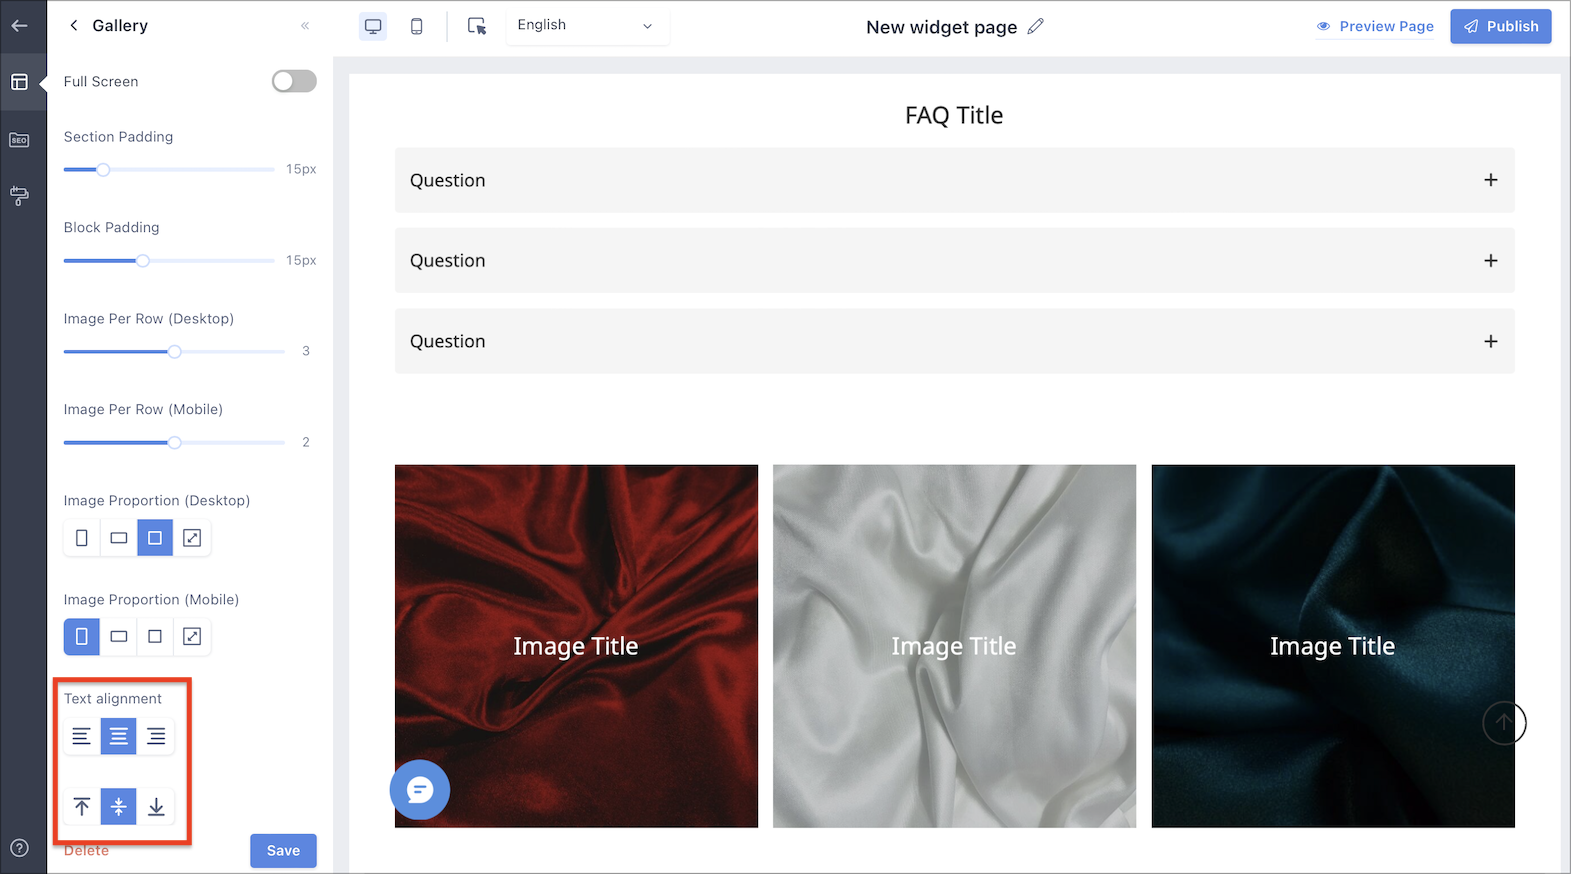
Step 8
During the setting process, you can click the Save button below to view the newly added gallery widget on the preview screen to the right.
*Note: You can select whether to preview the desktop version or the mobile version.
Or click the Preview button on the top right to preview it at the storefront.
Step 9
Once the settings above are confirmed, click Publish to let the customers view the newly updated content.
Read more
- Announcement Bar / Header Settings | SHOP Builder
- Text Widget | SHOP Builder
- Image with Text Widget | SHOP Builder
- Slider Widget | SHOP Builder
- Product List Widget | SHOP Builder
- Product Slider Widget | SHOP Builder
- SEO Settings | SHOP Builder
- Footer Setting | SHOP Builder
Comments